Mechanics
Assembly
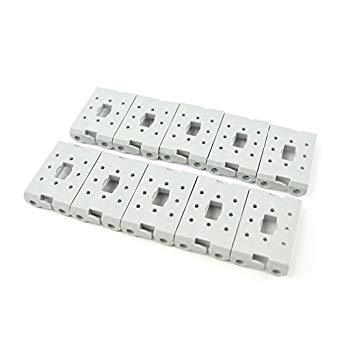
Servomotors are provided with brackets, which are plastic parts allowing fixation on the side of the motor.
We will also provide a set of screws that you can use for the assembly.
Drawing the frame is your responsability!
Gearbox
Typical DC motors can provide high rotating speeds with low torque.
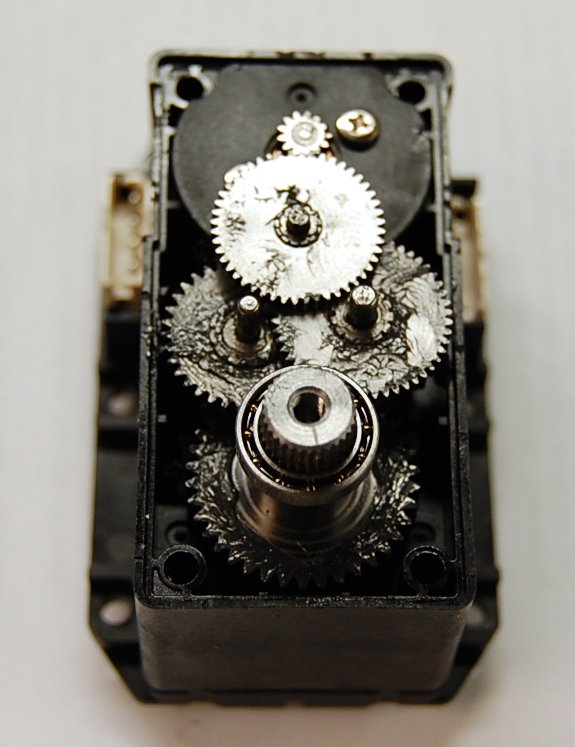
The gearbox ratio reduces the rotating speed and increases the torque.
H bridge
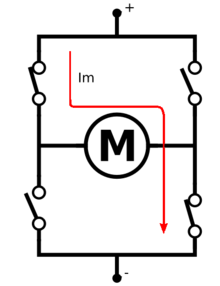
We mentionned the H bridge before without exactly explaining what it is.
An H bridge is an electronic circuit that uses transitors for:
- Providing power to the motors (getting amps passing, here 2.5A max)
- Switching the polarity, which changes the rotation direction
Indeed, microcontrollers inputs/outputs only allow for a few mA to go through them. It is therefore not possible to plug a motor on them. H bridges can be used to provide this power and invert direction.
Communication bus
Dynamixel servomotors like MX-12W are plugged using 3 pins connectors: ground, power and serial data.
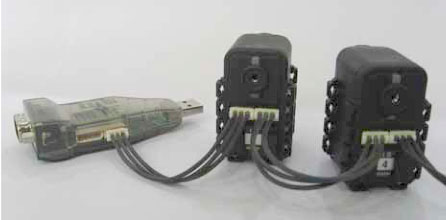
The motors are plugged in a serial fashion, therefore those 3 wires are common to every motor plugged (meaning the same power/data/groud wire goes through every motor)
Motors are identified by a software ID, a number that identifies them on the bus.